Wed 24 Jul 2019
Smoking Snow Peas Adds a Dimension of Flavor
Posted by recipe_blogRead other related stories: Charcoal Grill , Ember Cooking , Peas , Vegetables
1 Comment
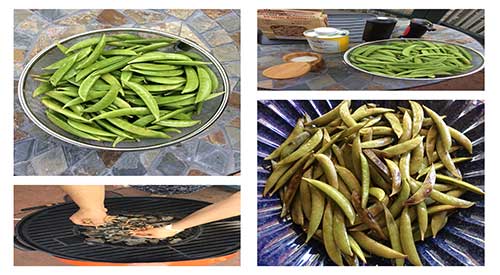
Smoking Snow Peas steps featured in this blog.
Let's try smoking Snow Peas! Click To Tweet

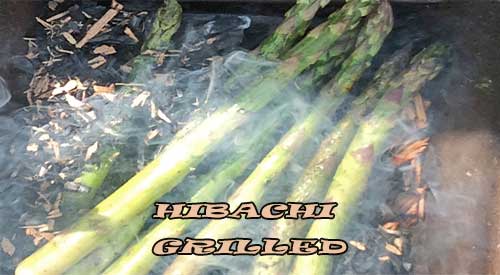
One of the most versatile vegetables is now in season and can be used in both hot and cold side dishes and main courses. In this series, we will be roasting our peas using a hot smoking method to bring the great wood-fired flavour.
Ingredients- Smoking Snow Peas
- At least 1 lb of peas, I like sugar snap peas
- Almond oil
- Sea Salt & Fresh Pepper
- A charcoal smoker, any size will do
- A disposable foil pan or vegetable pan or basket that is high heat tolerant
- 3 lbs. of lump hardwood charcoal
- 1 cup SmokinLicious® Grande Sapore® Wood Chips – I’ll be using Wild Cherry
- Kitchen torch for easy lighting
I’ll be using my Stok Drum Charcoal Grill for this series. As the Stok has its own charcoal basket, I won’t need to prepare any additional lump hardwood charcoal. I am using a direct method of cooking. I place my charcoal in the unit’s charcoal basket leaving my grate insert off for now. Once the coals turn gray, I will lift the charcoal basket and allow the coals to advance into the cooking drum. I then grate insert off as I will use my vegetable pan to go right over the top of the insert area.
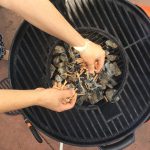
Adding Grande Sapore cherry wood chips
Pea Preparation
While the coals have been firing, I start preparation on the peas. As I am using sugar snap peas for this recipe there is very little preparation that has to be done. I first will remove all the string membrane that is attached to one side of the snap pea. If any stems are left on, I will remove those as well. I then wash the peas in a colander and then allow them to drip dry, shaking my colander occasionally to rid any excess water. If needed, I will pat dry the peas to ensure they are ready for the fire. Then I sprinkle on some Almond oil, sea salt, and fresh pepper to the peas. Now, we’re ready to wood fire!
My coals are hot, the wood chips are smoking, and the peas are ready to be kissed by fire! I place the vegetable pan on the center of the grill and leave my grill cover off. When cooking with wood, know that some temperature fluctuation can occur due to the natural variation in combustion so don’t leave the Peas unattended. Once you see the peas start to char, give them a toss with a spoon to ensure an even char cook.

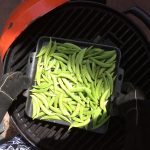
Placing the peas on the Stok grill pan
Usually, you will see char begin about 4-5 minutes into the cooking cycle. Once that occurs, you will be looking at another couple of minutes before the peas will be ready to come off the grill. Be sure you monitor that you don’t go too far with the smoking process. If the peas begin to shrivel and wrinkle, you went too far. You can remove them and place in an ice bath or run under cold water to stop any additional cooking from taking place.
Smoking Snow Peas- Recipe Ideas
It’s so hard to explain the aroma that comes from the grill when you wood fire vegetables. Keep in mind, that even when the vegetables are chilled, they will retain their char flavor. Here are some tips to finishing these beautiful smoked sugar snow peas: add some crumbled feta cheese and serve, or a splash of lemon juice and dill, or even a dollop of ricotta cheese that’s been whipped with a bit of cream. You can also check into our next blog on peas where we feature these scrumptious beauties in a Snap Pea and Cucumber Salad, just perfect on a hot summer’s day!
First Turn on the Grill
The Culinary Team wants you to know…
… that when it comes to the forgotten method of direct ember cooking with wood, there are many great food varieties besides your typical meats, poultry and seafoods that offer awesome flavor. This blog demonstrates how snow peas are one of many tasty garden variety veggies that will tickle your pallet with a great smoky wood-fired taste. There are many more foods for you to enjoy with this technique! Go ahead, experiment with your favorite vegetables or fruits and treat yourself to a “world of flavor” possibilities!
Bon-Bar-B-Q!
SmokinLicious® Products used for this recipe:
Wood Chips- Grande® Sapore

Dr. Smoke- You’re in store for a real flavor treat by smoking snow peas!

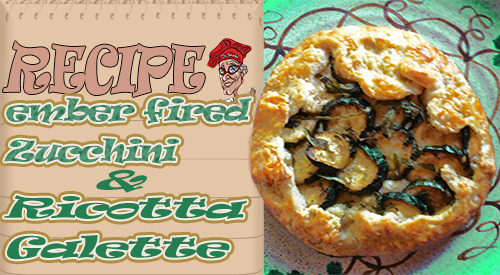
For more reading on Smoking Snow Peas, try these recipes
Related recipes:
Try This Great Salad Recipe- Smoked Snow Peas With Cucumber
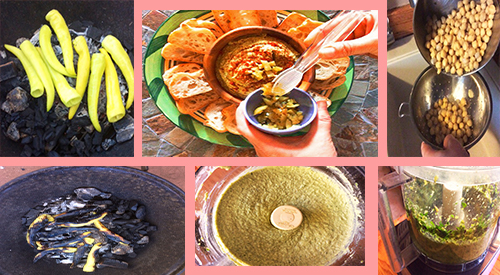
-GRILLED FRESH PEAS ADD SMOKY FLAVOR TO THIS PEA MASH
-SMOKED FAVA BEANS MAKE THE PERFECT DIP